With an emphasis on a friendly, relaxing and supportive experience,
Damask Tattoo in Seattle, WA stands out as a shop with a conscience. Shop founder
Christy Brooker created her client-centric shop with the understanding that tattoos are highly personal, often emotional and permanent on skin and in memory. From friendly artists and private rooms to hot tea and vegan aftercare,
Damask offers a welcoming and comfortable tattoo experience.
I believe that people should be able to go to a tattoo studio
and not be intimidated. It should be comfortable, inviting, relaxing
and friendly. They should feel like they just walked into a friend’s
house. I created Damask Tattoo to be that place. My vision was a tattoo studio that felt like a spa. I created my studio to be the place that I would want to go to get tattooed. - Christy Brooker, Owner of Damask Tattoo
The friendly artists at Damask Tattoo are proof that Christy's vision has become reality. All of the artists are committed to providing the best tattoos possible for their clients. They offer a huge variety of styles including bold traditional, illustrative realism, abstract and blackwork to name a few!
We believe that you have a vision for your tattoo and it’s our priority
for you to be thrilled every time you see it. It’s a long and important
process to choose a tattoo design and your artist. It’s worth it to us
to spend the time that we need to make it exactly what you dreamed of or
better. - Christy Brooker
Getting tattooed can be very intense. On top of the physical pain and emotions, the uncertainty of the shop atmosphere can weigh heavily on a client's mind - particularly when a tattoo is in an intimate or exceptionally painful area. Damask's simple details like private rooms with the option of closed doors can put a client's mind a ease that the environment will be peaceful and private.
Each tattoo room is private and has a door so if you are not comfortable
with the state of dress you will be in we can shut the door. Sometimes
tattoos can be emotional and very personal too. You can feel good
about letting the experience be whatever you need it to be here. - Christy Brooker
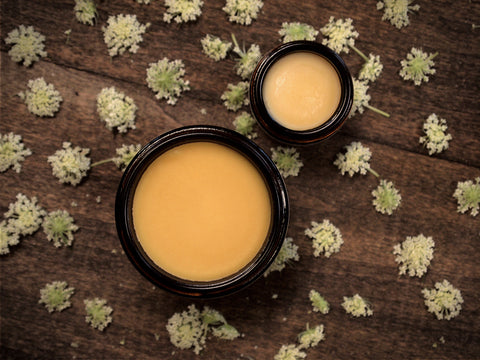
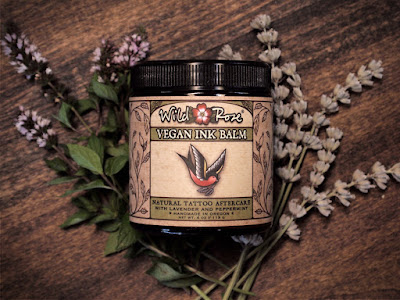
The experience at Damask doesn't end when you leave the studio. They care about your healing process and carry
Wild Rose Vegan Ink Balm and
Ink Spray as a natural, cruelty-free aftercare alternative. Damask even offers an entirely vegan-friendly tattoo process by request, including the use of vegan stencils, inks and our Vegan Ink Balm during the procedure.
Damask is a shining example of what a modern tattoo studio can be. Their consideration, talent and attention to details shows in their work and presentation. Christy's successful model is spreading as they have just added a second studio,
Laughing Buddah Tattoo, to the Damask family. We're thrilled to see our aftercare at professional, friendly tattoo studios like
Damask Tattoo!