Pages

Tuesday, May 29, 2012

Growing Borage for Happiness


Borage has long been celebrated as a simple tonic for happines and courage. Their petite, yet beautiful blue flowers are a reminder that joy is found in the most minute details of life. Borage is excessively simple to grow and will spread happiness wherever you let it.

Uses:
Traditionally, borage flowers were added to wine to "drive away all sadness, dullness and melancholy." They were also candied or made into syrup for this same purpose. The young leaves have a sight cucumber taste and can be added to salads, although their hairy teture can take some getting used to. The herb itself is said to be a mild anti-inflammatory and diuretic. It is often used externally to treat inflamed skin, or as a mouthwash or gargle. There is some evidence that suggest Borage may contain an alkaloid that can cause liver damage, so it is probably best to avoid prolonged use. I'm a big fan of homebrew soda-making, and borage flowers are as necessary as a slice of lemon in my ginger ale.
Borage is grown commercially primarily for Borage Seed Oil, a hormone-rich substitute for evening primrose oil. This makes a wonderful additive to skin creams and moisturizers. I use borage seed oil in place of rose hip seed oil in this acne-clearing moisturizer.

How to Grow Borage:

A strong self-seeder, make sure and pick a spot in your garden where you don't mind borage expanding. This herb tolerates any kind of soil, although it will be happier if you plant in moist, rich earth. Borage loves a sunny spot, but will still bloom in a partial shade.
Borage dominated this plastic bin herb garden I planted last year.
Borage grown readily from seed, which can be planted in the spring or fall. Cover seeds in about 1/2" of soil. Borage will appreciate you waiting until a few weeks after the last frost.
Your seeds will germinate in 7-10 days. Borage is very hardy and doesn't need much tending. Mine is occasionally attacked by slugs, but a cedarwood spray has been effective at stopping them so far.

Monday, May 28, 2012

Savvy Tips, Demystifying Herbal Salves Part 2: Liquid to Solid


This week we'll be dealing with the herbal alchemy of transforming a liquid oil infusion into a solid salve. Be sure to check out last weeks blog about oil infusions if you haven't done so already. Every good salve must start with a good oil infusion.
The main thing to keep in mind when making a salve is preservation and cleanliness. When made and stored properly, salves have a shelf life of 2-3 years. The last thing you want is all those precious ingredients go to waste because of contamination from dirt, water or other kitchen hazards. The most common trouble maker is water, so be sure to thoroughly dry all containers before transferring your oil infusion into them.

What You'll Need:
  • Wax: Beeswax is my favorite, but you can use vegan alternatives like candelilla if you'd prefer. A general rule is for each cup of oil add 1oz (weighed) wax. I'd highly recommend getting a scale, or you can buy wax in 1oz chunks. You may want to adjust this depending on climate and personal preference. I typically use 1.1oz wax for each cup of oil. Wax can be found in bricks or pellets. Bricks can be broken apart with a (clean) flat-head screwdriver and a rubber mallet.
  • Vitamin E: This will not only help extend the shelf life of your salve, but it's also wonderful for the skin. Try to find pure Vitamin E (read the label, as most are diluted in veggie oil for consumption). I use Jason's Vitamin E at 32,000 iu. Add just a few drops to your batch. If you can't find straight Vitamin E, try to get Vitamin E capsules. Pop a few open and squeeze the thick Vitamin E into your salve just before pouring into your jars.
  • Precious Oils: Rose Hip Seed, Borage Seed, Evening Primrose, Meadowfoam and Hemp Seed oils are just a few of the many nutrient-rich oils you can use to boost your formula. I like to add these oils at the end of the salve making process, just before pouring into the jars. This lessens the nutrient loss due to heat exposure. I typically add 1-2 TBsp of precious oils to each cup of base oil.
  • Essential Oils: The possibilities are endless here. Favorites include Lavender and Tea Tree for healing salves, or Peppermint and Ginger for a muscle rub. I add my essential oils to the empty jars my hot salve will be poured in. Heat vaporizes the essential oils and weakens the scent and healing properties. I use 20-30 drops of essential oils for each ounce of salve.
  • Double Boiler: You will need a double boiler to make your salve. Don't ever put your oil or salve over direct heat. You can make a simple double boiler by finding two pans, one bigger and one smaller so that they can nest. Then, just throw a wide mouth canning jar ring into the bottom of the bigger pan, add a little bit of water and set your smaller pan right on top of the ring with the handle hanging off the side of the bigger pan (for stability). Voila! Instant double-boiler. 
  • Jars or Tins 
  • Chopsticks, Spoons 

Making The Salve

Step 1: Strain and Press
Strain your salve directly into your salve making vessel (the upper part of your double boiler). Strain the herbs out of your oil infusion using a muslin bag. Pour slowly and don't let any plant matter get past your fabric. It's normal for minute particles to accumulate at the bottom of your salve. Squeeze the leftover plant material as hard as you can to extract all of your herbs' properties.

Step 2: Heat and Melt


Add your preferred wax to your strained oil infusion and place in your double boiler. Start with 1oz wax for each cup of oil. If you're using glass, make sure it's heat resistant and always heat slowly. Your double boiler should be on medium-low heat. Watch it carefully so the water doesn't boil or splash into your salve. Stir your salve occasionally to help it melt.
While your salve is melting, prepare your empty jars or tins to pour your salve into. Add your essential oils to the bottom and keep a chopstick handy.


Once the wax is completely melted, spoon out a small amount and place it in the freezer to harden. Test your salve to make sure it's thick enough. If it's to hard, you can always add a little oil to your mix. IT'S VERY IMPORTANT TO TEST YOUR SALVE. There's nothing worse than having to melt down salve that's already been poured into jars.

Step 3: Make Pretty and Pour


If you're improving your salve with precious oils or Vitamin E, turn off your stove and add them now. Mix thoroughly. A few tablespoons of precious oils wont dramatically effect the consistency of your salve, but you can test it once more if you'd like. Carefully pour your salve into your prepared containers. Start with the bigger jars and end with the smaller ones. It's much easier to pour small amounts of salve when there is less of it to handle. If you added essential oils to your salve jars, use the chop stick to mix everything while the salve is still hot.

Step 4: Clean and Store
It's easiest to clean up salve while it's hot. Dump boiling water over everything that has salve on it. Then wash with very hot soapy water. When your salves are completely cool and hard, cap tightly and store in a cool, dark place.

*This information has not been evaluated by the FDA and does not replace the opinion of a doctor. This product is not intended to diagnose, treat, cure, or prevent any disease.

Thursday, May 10, 2012

Savvy Tips for Herbal Salve Making Part 1: The Oil Infusion


Natural salve and balm recipes can seem rather straight-forward, but liquid-to-solid alchemy can play tricks on us. Some lessons are only learned with time and wasted ingredients, so here I'll share with you my successes and failures spanning my six years of salve making.
First, lets start with the oil infusion. This is what you will use to make your salve by adding beeswax and essential oils (more on that next week). A good salve must start with a good oil infusion!


The Oil Infusion
Every salve recipe I have found recommends olive oil, which is readily available and not a bad choice. But, there is so much more out there in terms of skin-loving oils! To be honest, I hate olive oil salves. They're greasy, they don't absorb well and my infused oils end up smelling like something I'd throw on a salad. Not to deter experimentation, but if you have one of the following oils available, your skin will thank you:
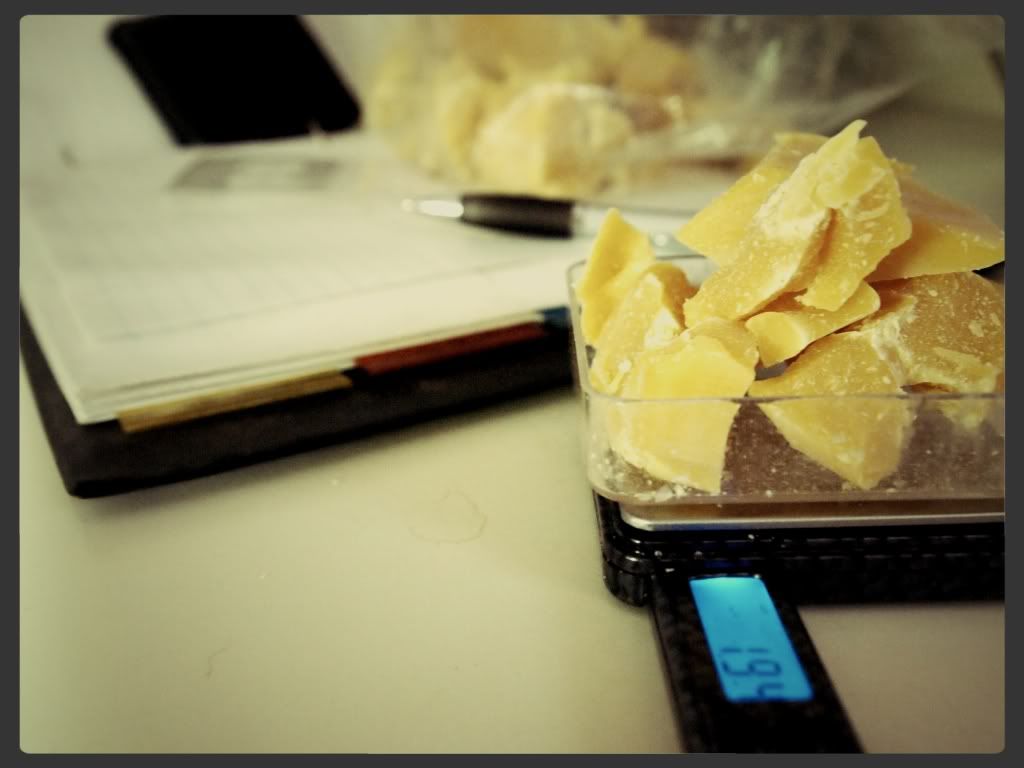
  • Coconut: It's becoming much more widely available. Just get the cheap stuff, doesn't need to be virgin/raw because you'll be heating it to make your salve anyway. I've actually found it's more affordable than olive oil in most cases. Coconut is my new favorite. It's totally non-greasy and odorless (or light coconut smell if you get the less processed stuff). Coconut Oil is solid at room temperature, so it's recommended that you use the stovetop method for making your oil infusion (or use in combination with another oil so that it stays in a liquid state while infusing)
  • Sweet Almond: It's not as widely used in cooking, so it can be a bit harder to find. Also absorbs like magic and relatively odorless. Not an option for those with nut allergies.
  • Apricot Kernel: Very similar to Sweet Almond and generally well tolerated by allergy sufferers.
  • Grapeseed Oil: Great for sensitive skin and hair follicles. Slightly astringent, this is a perfect choice for acne-prone skin. Absorbs well, slight nutty odor.
  • Jojoba: Also great, but should only make up about 10% of your blend. Its a bit thicker than the above oils and can irritate some individual's skin when used full strength.

No doubt there are other wonderful oils out there, but these are my personal favorites and generally easy to find. If you can use just one of these oils in combination with Olive, it will greatly improve the consistency of your salve. Even just 25% of one of the above oils in combination with olive will make a big difference. Otherwise, ratios are up to you!
Once you have your oil choices figured out, you need to decide on herbs. The possibilities are endless here, so don't hesitate to scour some resources and get creative! Here's some commonly used herbs:
  • Calendula: Anti-microbial, soothes irritation. Powerful, yet gentle healer.
  • Yarrow: Traditionally used to stop bleeding and heal all kinds of wounds and abrasions.
  • Comfrey: A powerful healer, but not recommended for open wounds. It can heal the outer skin too quickly, trapping bacteria and potentially infection underneath. Great for cuts and scrapes that have already scabbed over.
  • Rose, Lavender and Chamomile: All wonderful skin soothers that impart a lovely scent to your salve.
  • Gotu Kola: This is my secret weapon. Does wonders for dry or infected skin. Increases circulation and is even known to reduce varicose veins. Most of all, this herb is invaluable for anyone with thin or aging skin. It's known to help thicken and toughen delicate skin.
It's very important that your herbs be thoroughly dried before making an oil infusion. Salves and oils have a shelf life of 2-3 years if made and stored properly, but any moisture added to the mix can cause an oil to quickly go rancid. If you collect your herbs fresh you'll want to dry them by using a dehydrator, low heat (150 degrees) oven, hang in bunches or spread onto old window screens to let dry in the shade.

Oil Infusion Recipe:
When experimenting, there's no need to make a large batch of oil. Start with one cup, or even 1/2 cup:
You will need:
  • 1 Cup Oil
  • 1/2 Cup Dry Herbs
This is just a general guideline, the amount of herbs to oil is entirely up to you. Sometimes less is more!
       

Once you have your herbs picked out, you'll want to grind them up as fine as possible to aid in the extraction of the herb's healing properties. You needn't go crazy here, but if you have a blender or coffee grinder on hand this makes it super easy. Use the pulse setting on your blended to chop everything up. I love the coffee grinder as it's easy to powder roots if I need to. Alternatively, a mortar and pestle or your bare hands work fine too.

Pack your container half full of herbs and cover them in oil. Make sure your herbs are immersed in oil. The more herbs you use, the less oil you'll end up with (due to absorption). So, if you're looking for exactly 1 cup of infused oil, add a little extra oil to the jar to compensate for loss.
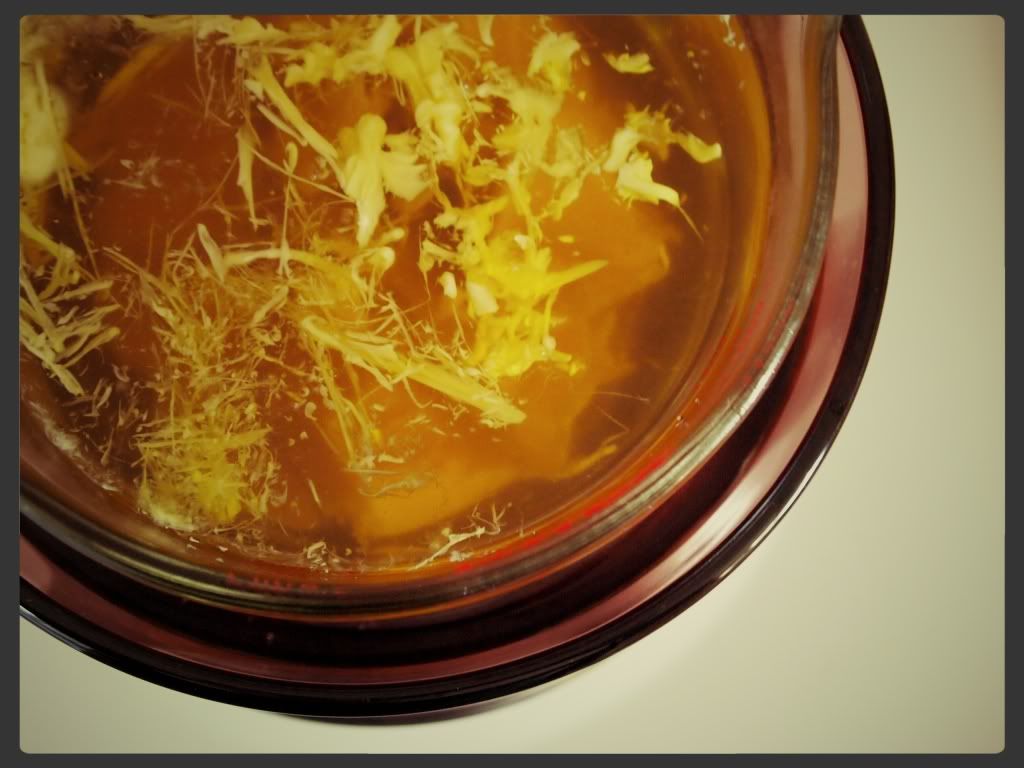
There's two ways to make an oil infusion:
1. Solar: Find a clear glass jar large enough to hold your herbs and oil. Mix well, cap tightly and set in the sun for 1-2 weeks. Shake at least once a day.
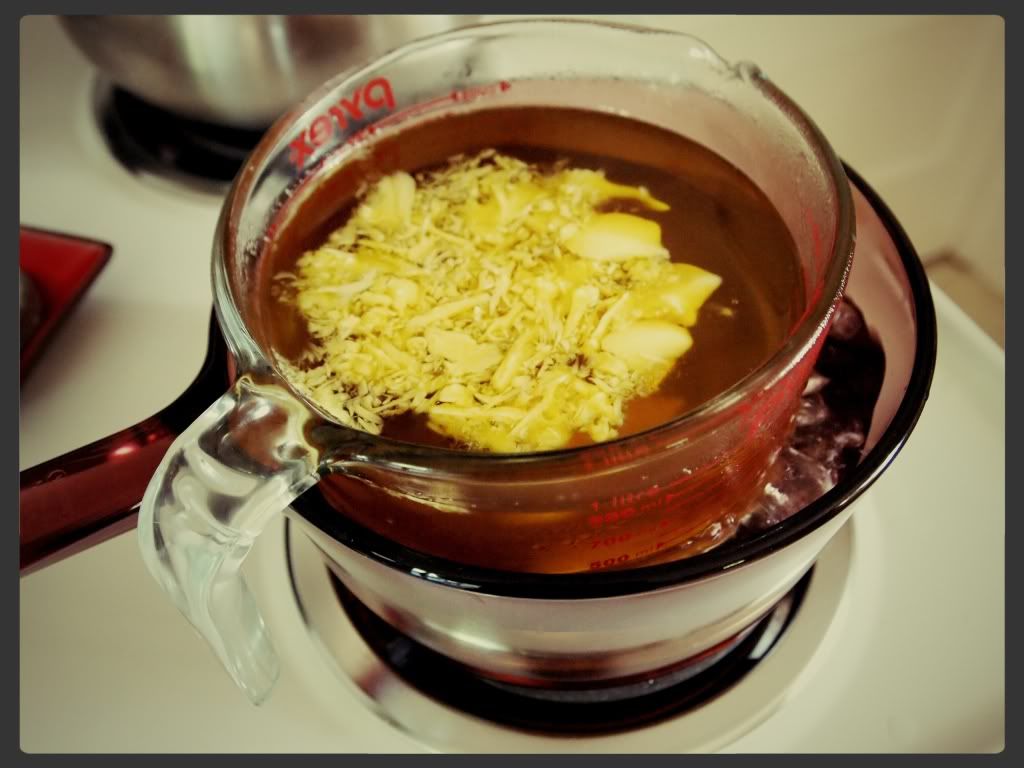
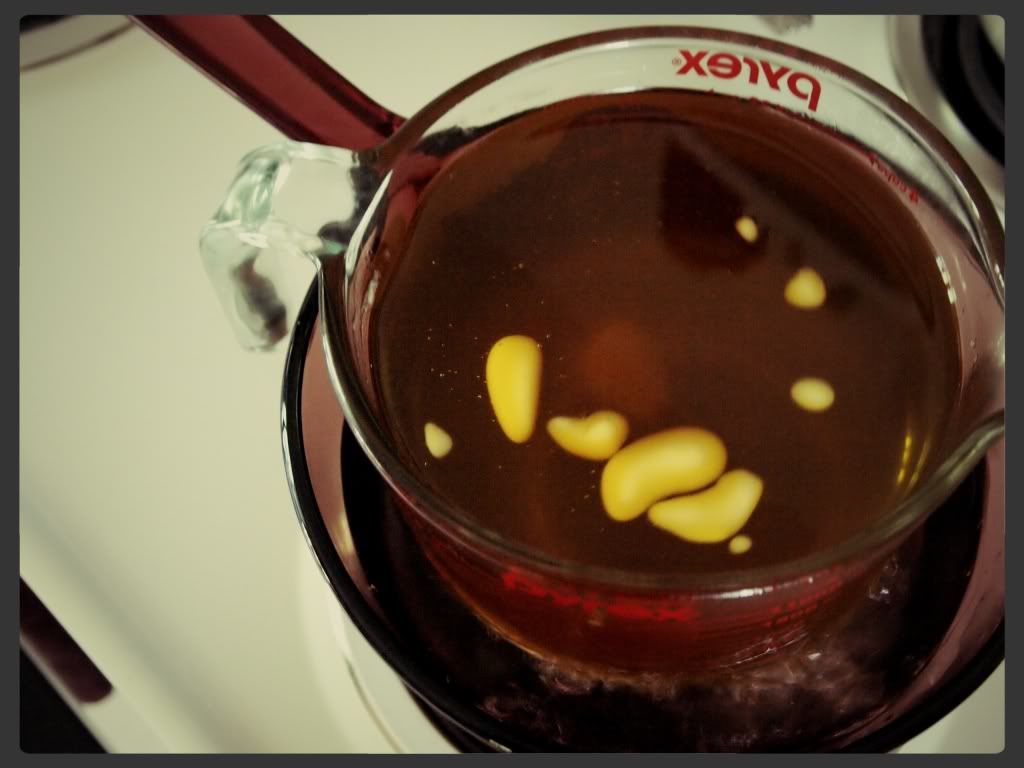
2. Oven/Stovetop/Woodstove: If you're in a less-than-sunny location, or if you're short on time you can still make a great oil infusion! The oven is easiest. I set mine on 150-170 degrees, put everything in a pyrex measuring cup and let it cook for 4-5 hours, stirring occasionally. You can also cook over a double-boiler on the stovetop, although this requires a lot more attention. Be careful not to splash water into your oil infusion. Never put an oil infusion over direct heat! You'll end up with deep-fried herbs and a nasty smelling oil.

Check back next week for tips and instructions on turning that lovely new oil infusion into a silky-smooth salve!

*This information has not been evaluated by the FDA and does not replace the opinion of a doctor. This product is not intended to diagnose, treat, cure, or prevent any disease.

Wednesday, May 2, 2012

Lemon Balm Recipes

Lemon Balm leaves can be harvested as needed, so whether you have an established patch or just planted yours yesterday, you'll soon be enjoying those fragrant lemoney leaves. Here's a few of my favorite (and never-shared-before) recipes.
Calm and Cozy Tea
I blended this tea with two goals in mind. First, I wanted a tea that would act as a mild relaxant but not a sedative. A relaxant can be used to ease tension at any time of day, and is very safe for both children and the elderly. Sedatives, on the other hand, have a wide range of effects on people (some folks are even stimulated by certain sedative herbs like Valerian) and often cause drowsiness. I'm not into selling miracle cures, but would rather help people incorporate herbs and aromatherapy into their daily routine, if only for pure enjoyment. In short, I don't advocate the use of strong herbs without proper guidance.
Moreover, I wanted a gentle tea that would help settle my tummy should I happen to eat something that was not so easy to digest (I've mostly cut grain out of my diet, so when I indulge it can cause some serious stomache acidity). Calm and Cozy is what I concocted:
Ingredients:
  • 1 Cup Peppermint Leaves
  • 1/2 Cup Lemon Balm Leaves
  • 1/4 Cup Fennel Seed
  • 1/4 Cup Cinnamon Bark (chunks, not powder)
  • 2 TBSP Ginger Root
If making a single cup, feel free to use fresh herbs. For this batch, all herbs should be dry for storage. You can use cinnamon powder instead of chunks, but be warned that if you don't contain it in a muslin bag during steeping, it will turn into slime. Thoroughly mix all ingredients and store in an airtight container.
For tea, use 1-2 tsp dry herbs for each 8oz cup of tea. Allow to steep for 10 minutes, strain and enjoy!

Sweet Meadow Smoke Blend
Sweet Meadow Smoke Blend is always popular at Wild Rose
I've never been a smoker, but I have had several friends ask me to help them quit with herbal teas. In addition to tea, I came up with this sweet herb blend to help satisfy the urge to smoke. Surprisingly, I really enjoy smoking this blend on occasion. It's tasty and slightly euphoric, the perfect addition to a warm night.
Ingredients
  • 1/2 Cup Lemon Balm Leaves
  • 1/2 Cup Red Clover Blossoms
  • 1/2 Cup Chamomile Flowers
  • 1/4 Cup Damiana Leaves
  • Pinch of Pineapple Sage (or Sage of choice)
All herbs must be very dry. Put everything in a blender and use the ice crush mode to slowly grind the herbs. The mix should become slightly fluffy, but not super fine. Just enough to make rolling it easier. Store any extra herbs in an airtight container.
The Lemon Balm massacred by my neighbor is doing much better now. I should be picking my first leaves in a few short weeks!