If
you're looking to add herbs to your garden and your pantry, Calendula
is a must. Not only is it ridiculously easy to grow, it also has an
array of benefits for yourself and your garden. Both
Calendula officinalis (Pot Marigold) and
Tagetes erecta (Mexican or Aztec Marigold) have similar traditional uses.
Calendula for You:
Heals
and soothes just about any skin abrasion, rash, cut, burn, infection or
cosmetic problem like varicose veins. Internally, Calendula tea or
tincture treats cuts inside the mouth, sore throats and even stomach
ulcers! The petals look beautiful tossed with salad greens. Calendula is
a known antiviral, antifungal and antibacterial herb. It's definitely
in my top ten favorite herbs because it is so gentle, yet so effective.
Calendula is an invaluable aid for keeping your skin healthy.
My
Intensive Care Healing Salve draws part of it's power from Calendula-infused oil (recipe will be shared in a future Calendula harvest post).
Calendula for Your Garden:
Pot
Marigold is a classic companion plant. Its scent will drive away pests,
including Mexican Bean Beatles, Aphids, Tomato Hornworms and other
nasties. Calendula helps everything, really, so don't hesitate to throw
it around the garden. Tagetes erecta is known to protect plants from nematodes specifically.
How to Grow Calendula
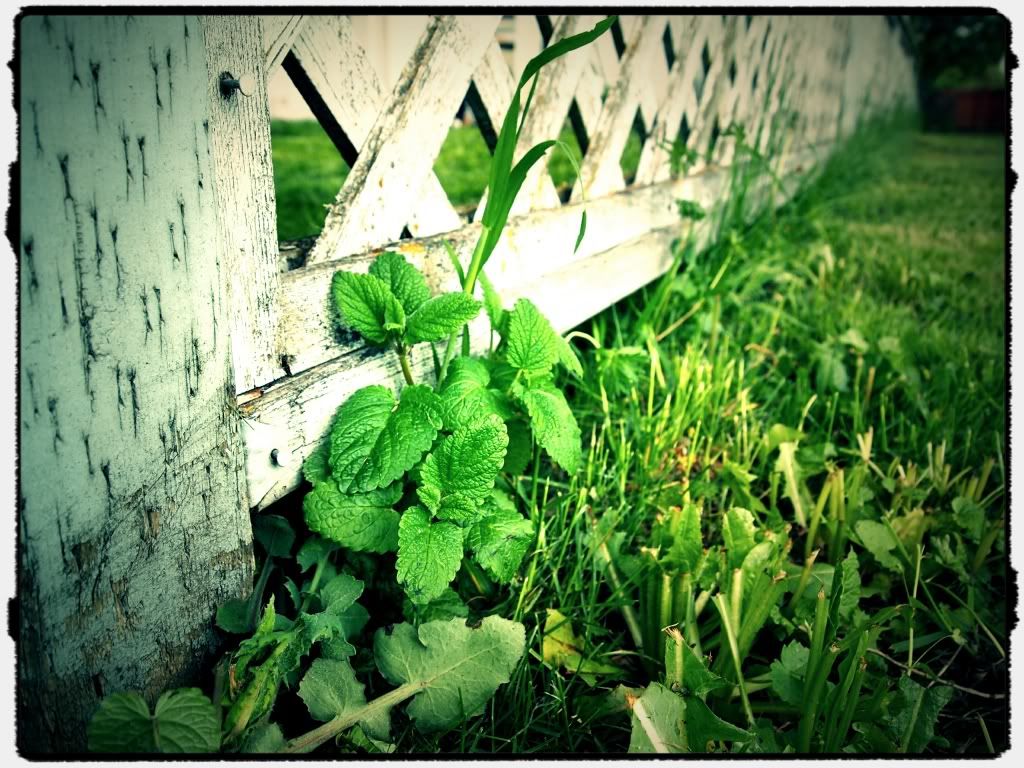
Step 1: Pick a Spot
I chose a spot near my front door where the grass was overgrown.
Calendula
is a prolific self-seeding annual growing from 1'- 3' tall. It's not
picky (tolerates poor soil) and grows easily in partial shade, full sun,
even patio pots (container gardeners, listen up!).
It
can be planted pretty early in Spring, depending on where you live.
Ideal germination temp is 59 - 68 degrees (F). They wont survive a hard
frost, but are easy to cover when young. Calendula transplants well, so
if in doubt you can always start yours indoors. I probably could have
planted mine earlier here in Southern Oregon, but with the first blooms
arriving in 40 to 50 days, there's really no need to stress.
Step 2: Soil/Container Prep
You
don't need to do much to make Calendula happy. Loosen up the soil
(6"-12" if you can) by jamming your shovel in the Earth and tilting it
up just a bit. I like to get dirty, so I usually end up sifting through
all the dirt by hand. Break up any clumps and remove rocks. If your soil
texture isn't ideal, you can mix in some store-bought topsoil. The more
work you do here the better for your plants, but Calendula will forgive
your laziness. Set aside some sifted soil, enough to cover your
planting area 1/4" deep.
Container gardeners
will want to line the bottom of the pots with some small rocks or gravel
for drainage. If you give Calendula a nice big 5 gallon bucket, she'll
reward you with lots of blooms. But any container will do, really. If
the plant looks crowded as it grows, transplant!
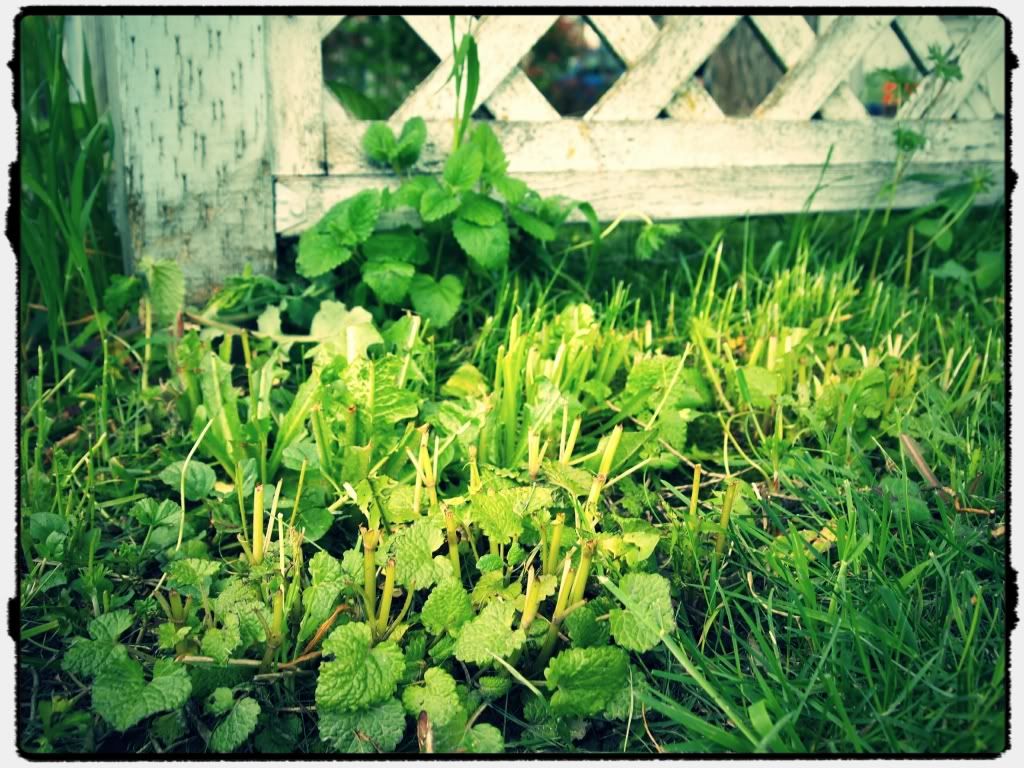
Soil sifted and ready to wet. I set the grass aside to die, I'll use it as mulch later on.
Step 3: Plant it!
Once
your soil is sifted and smooth, thoroughly wet the entire area. Then,
sprinkle your Calendula seeds across the top and cover with the sifted
soil you set aside. Calendula needs a 1/4" covering, just enough to keep
dark. Gently pat down your dirt and moisten your top layer with a spray
bottle or watering can. Try to avoid traumatic watering as this will
uncover your seeds and they may not sprout.
Step 4: Take Care
Seeds
germinate in about ten days. I'm more of a hap-hazard gardener,
throwing several herbs together in a patch and "letting the seeds fall
where they may." I like my gardens to resemble wild spaces, with a
mish-mash of edibles, medicinals and pretty things all growing together.
If you'd like more order in your garden, feel free to remove any weeds
and when your plants are 2" tall, thin so that there is 6"-12" between
each plant. You'll be enjoying your first blooms in just 40-50 days!
I mixed my Calendula with Yarrow, Borage and a beneficial bee flower blend.
Calendula
is the perfect herb for beginners and children, but it's also a staple
among veteran gardeners as well. It's hard to go wrong with this
beautiful and useful flower, so throw all caution (and seeds) to the
wind. Check back here soon because before your plants are blooming,
we'll have a harvest post complete with recipes for classic Calendula.